Friday, November 13, 2009

New Moon Premiere Party Sneak Peek!

Yes, it's NEXT Friday but I have to utilize the time I have to experiment and get ready. I had a few brilliant ideas today and I'm glad I got to see how they work best well ahead of time. So this is all I'm revealing for now.

Twinke lights...lots and lots of twinkle lights...
More twinkle lights with framed quotes and things that go with the black, white and red theme.
The Cullen crest...
Table covers from the dollar store taped to the ceiling. I attempted to do it all the way across but the ceiling was too high to the right. I was using a swiffer and a light saber in attempt to get them up there but alas, it was not doable. And now I have pieces of tape lining the ceiling. Awesome.


And finally, one of the bottles of wine we'll be enjoying.

Posted by Picasa

Dresser Before and After

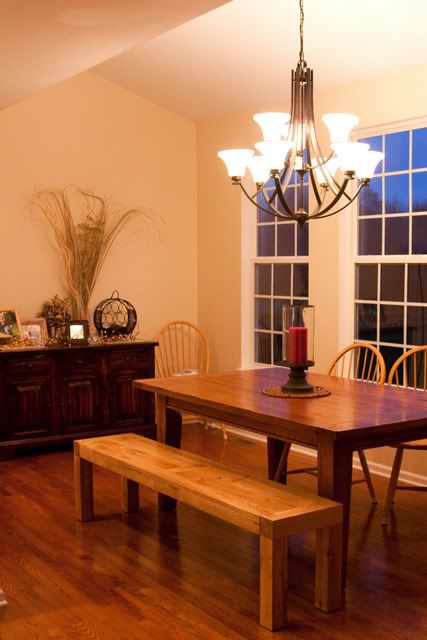
Erik's mom gave us an old dresser that was much needed by us. One dresser and one walk-in closet still somehow does not contain the living organism that is my wardrobe and poor Erik is forced to place his underwear and socks on a small bookshelf we placed inside the closet. And for some unknown reason, the cats have a special love for Erik's socks. They often bring us a sock or two, leaving some strewn about the staircase or any other place they feel like. Well no longer! Although after this makeover, I think I might have to switch dressers cause this one is just so purty.


After sanding it enough to rough up the old finish, I applied Behr paint and primer in one in the color of Mountain Ridge which also happened to look much more brown in Home Depot. It has a bit of purple hue to it but I really don't mind. It gives the room a hint of girlie. It needed two coats. I replaced the old hardware with some pretty new knobs. Erik was pleased that they also happened to be the one of the cheapest I could get my hands on. Home Depot price is just $1.19/ea.
Here is the after. I admit to not giving the decoration much thought. I am waiting to score another sweet mirror on Craigslist so in the meantime, I placed this interesting Pier 1 item on top and rested the stem against the door frame.


The framed pieces on the left are pictures I've taken. Some of my favorite to look at...their simplicty makes me feel very peaceful. The pillars are resting on two wine glassses turned upside down. A little trick I learned of a few years ago for when you need an impromptu candle holder. Everything is sitting on a few pieces of scrapbook paper to protect the still new paint job.


Edward pops in to give his opinion. He's speechless.

And here is my favorite person playing in my "castle" as he calls it. He loves to watch me take pictures for the blog.
Posted by Picasa

Tuesday, November 10, 2009

Before and After the Chandelier

My favorite part of the house is the space titled the "morning room." I'm guessing it's labeled as such because it doesn't come with any light fixtures so it's best to hang out in there in the morning and not when you are trying to eat dinner in November when night has fallen by 4:30pm. As early Christmas gifts, the 'rents bought us a chandelier to put up and I LOVE LOVE LOVE it! It's perfect in every way and I can't stop looking at it.

As is customary with Erik and I, we had to hire someone to install it for us. Our DIY instructions for a chandelier instructions looks something like this.

1) Pick up the phone and dial an electrician
2) Visit an ATM and withdraw a lot of money
3) Pay electrician
3) Enjoy the light fixture

Anyway...here is the before, in the glory of the morning light.
And the after:


Monday, November 2, 2009

Dental Floss Chandelier

I needed a distraction and I needed something to give my headboardless bed a kick. I found a DIY faux chandelier tutorial and had at it during Henry's nap. The materials are literally dental floss and stickers. Anything round can be the holder. I picked up a wreath ring at Jo Ann Fabrics, very similar to the one this blogger used. I would have preferred it in white but it only came in Christmas green so I sprayed it with the oil-rubbed bronze paint that I featured in this post. Apply stickers to floss and hang. I made the inner ring strands longer and alternated with circle and square stickers for a geometric look. The result is surprisingly elegant for just $5 and I just love the way it catches the light.

Henry also enjoyed the chandelier and kept saying "your castle is beautiful, Mama!"